Saturday, June 28, 2014

Watch out world, I am on youtube!


 Here's a little video I found that makes me look like a total nerd.  I stutter and forget words and who knows where I am looking while I am talking (there wasn't a cue card) but, it's fun to see this just the same.  It's always good to laugh at ourselves, right?  

Have a great weekend everyone!

Saturday, June 21, 2014

Coastal Lily is finished!

coastallily1 
For those of you who follow Thelma, you will recognize her Coastal Lily quilt. This is a quilt pattern designed by Minick and Simpson made in traditional colors, but the coloring in this quilt is more up my alley.  There is some Bonnie and Camille and I spied some V and Co fabric as well.  The quilt is just so happy.  Before I even knew what quilt Thelma was sending me, I knew I wanted to quilt this one.  It was such a wonderful surprise to find out she would be sending this to me. Totally meant to be, right? 

Quick Stats.

I used Glide thread for the top, color 20005 pearl - and So Fine #402 for the bobbin. I used a double layer of batting, 100% cotton and 80/20 Hobbs.  This gives the quilt more dimension to the quilt because of my detailed quilting. I marked the quilt as I advanced each row with my purple disappearing marker and I used my straight ruler to help me keep my lines straight.  Everything else is free-motion quilting on my non-computerized A-1 longarm.   

coastallily2 
Okay, so now hopefully all the questions are answered and I can just talk about my quilting. I have to say thank you first to Thelma for letting me quilt this up.  She lets me do my thing and I am so happy with how it turned out.  

coastallily3 
My favorite part of the quilt is the top and bottom row quilting.  The stepping out squares was so fun to design and amazingly it worked out perfectly the first time I drew it out.  It doesn't always happen that way, but when it does - I am so grateful! 

coastallily4 
Isn't the texture just awesome? 

coastallily5 
I wish it was staying on my quest room bed, but for now I'll just enjoy looking at it until I ship it off. 

coastallily6 
There are a lot of straight lines, stitch in the ditch and outlining that went into this quilt. 

coastallily7 
I loved how the lilies turned out.  The outside 1/2 inch straight lines were perfect for the small side borders. 

coastallily8 
At the top of the above picture you can see a cute lily flower.  I drew that up and came up with a template for this design.  It was so fun to quilt up and I feel it gave a softness to the pieced lilies.  

coastallily9 
The feather motif was free motion quilted and I love the diamond corners in each one. I am so excited to finally have a finish!  First one of the summer! I hope you like it!  

And, one more thing!  Thanks so much for all your sweet comments on my last couple of posts! You are so sweet to me.  If you do have questions for me - please email me directly at judi (at) greenfairyquilts.com - it is easier for me to answer emails directly to me and not through the blog. 

Thanks!

Tuesday, June 17, 2014

My Studio! Finally pictures worth sharing.

1 
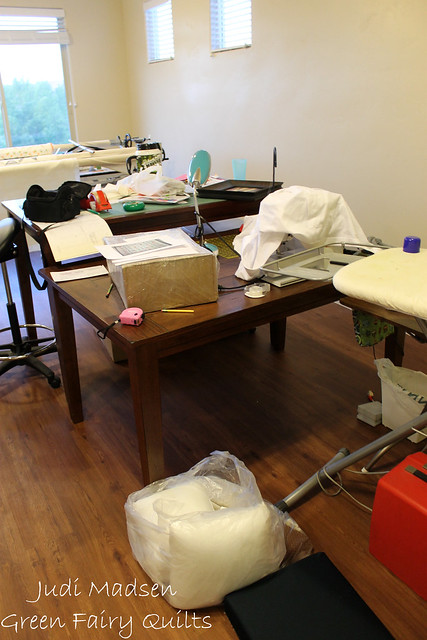
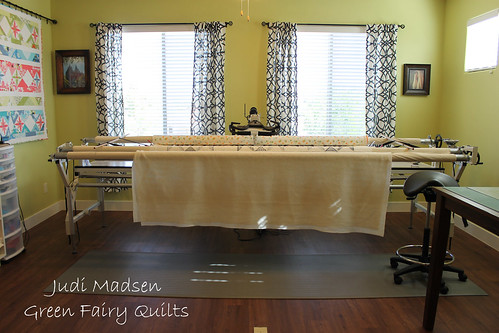
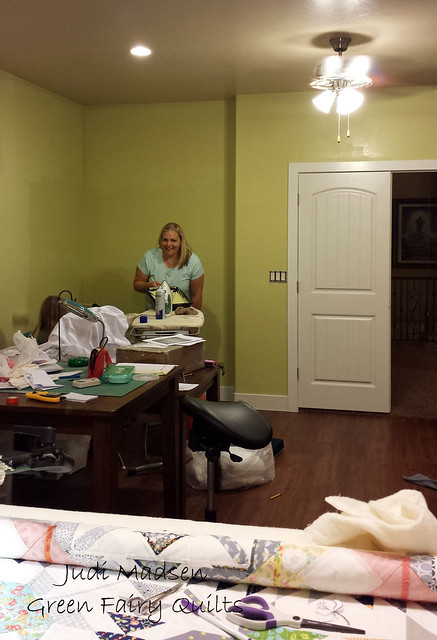
Okay, these first couple pictures are "before" shots.  Normally my studio wouldn't look like this because the tables wouldn't have been pulled from the walls. However, my studio was just plain and bland.  I have not had a chance to get to decorating my studio until now.  We have been in our new home for just over six months now.
 
2 
We loved the colors we picked for our home, but the same colors are everywhere.  I walked into my sister's home a few months ago, used her bathroom and noticed her soft green paint on the walls.  I told her that is what I wanted for my studio. 

3 
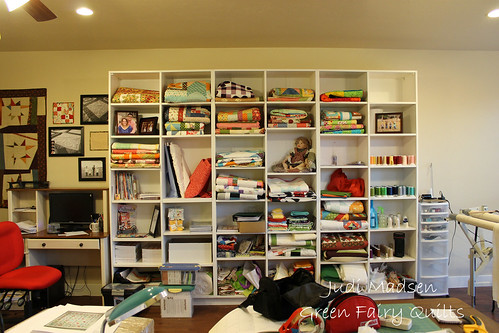
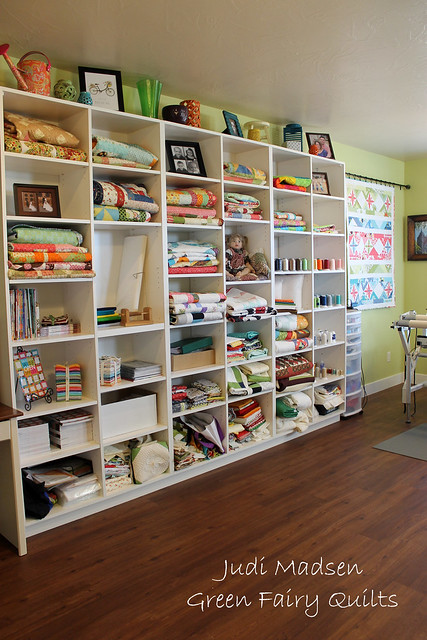
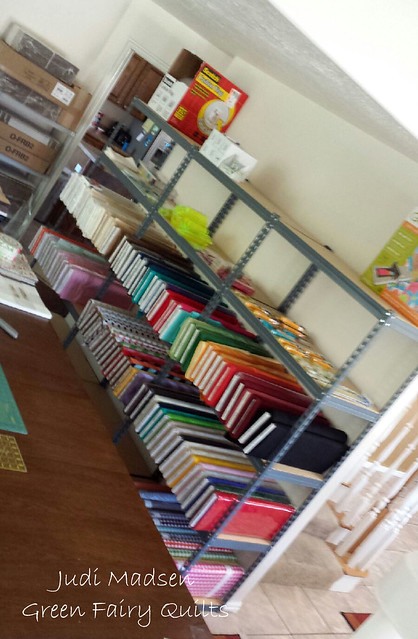
The shelving is awesome, but just wait until you see it against the green walls.  

4 
So my sister came down and helped me paint my studio.  We used ColorPlace paint from Walmart - no joke - and just two coats of paint. The color is Extended Olive Branch 10533.  Doesn't it look beautiful? It is so me. Thanks to Amy and her painting skills.  All she used was a 1 inch paint brush and one roller.  No tape! She is a painting genius. 

5 
So, I found a few things to put at the top of my shelving unit and rearranged my quilts and pictures.  The bottom two layers of shelves are still hopelessly messy, but that is another project for another day. 

6 
I purchased the curtain rods, drapery and the mat on the floor at Lowe's.  I love the curtains because it makes the room feel more warm.  The picture of the Savior is right where I can see while I quilt.  Whenever I am having a bad day, I look at His picture and it helps me to remember to keep things in perspective. The mat is a product that is soft and cushy.  I love it.  It has helped me so much while I quilt because the floor was just too hard and I hate wearing shoes.   

7 
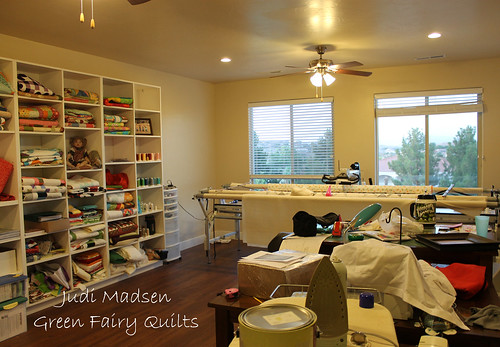
 The view of my room from the other side.  It is a nice sized room.  I can lay out a huge quilt in the center and that was mandatory when we were looking at house plans.  
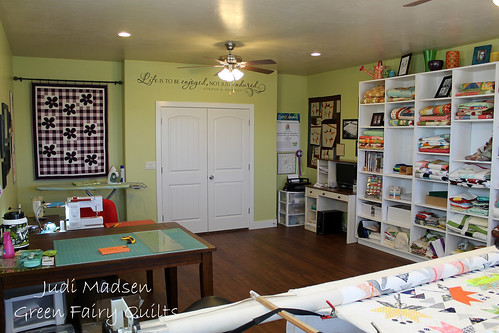
My cutting table and sewing table are together and right where I like them.  I can not wait to spend hours in here just creating.

8 
This is the machine that started it all.  My grandma's 830 - I love it.  I am going to have my daughter sit in here with me and learn to appreciate what this machine means to me.  
The pictures look fabulous with the black frames against the green wall.  I put up pictures that I took and mean something to me.  I wanted this room to represent everything that I love in life. 

9 
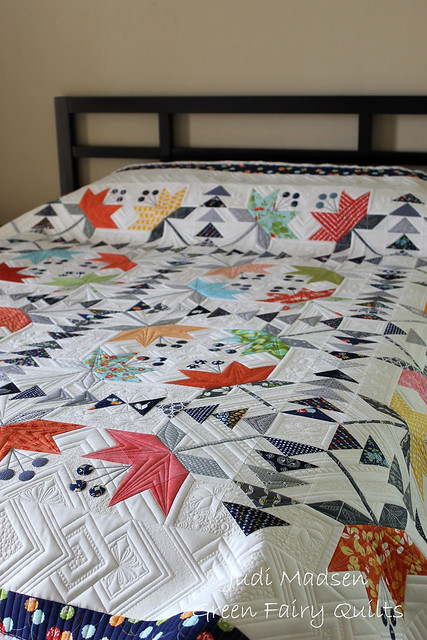
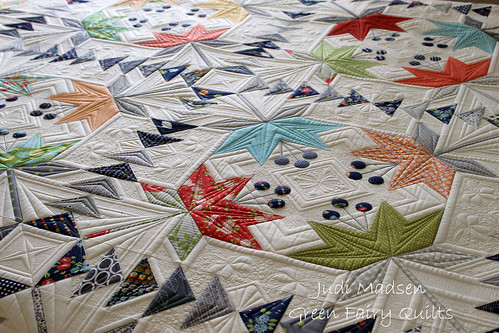
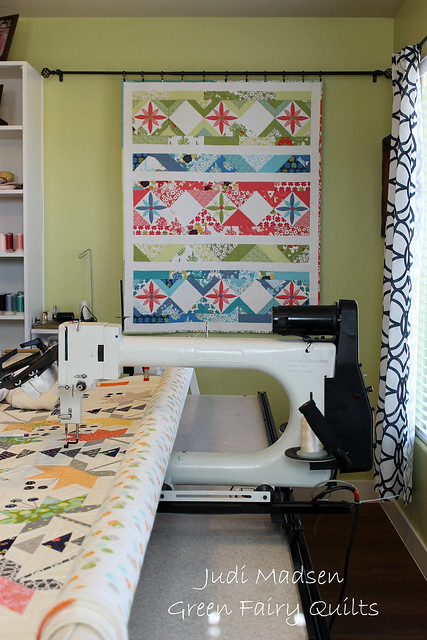
So, holy cow!  Cute quilt, right?  It is like this quilt was made for my studio.  I will change out my quilts every once and a while, but for now Daisy Mae is a perfect fit for the wall by my quilting table. 

10 
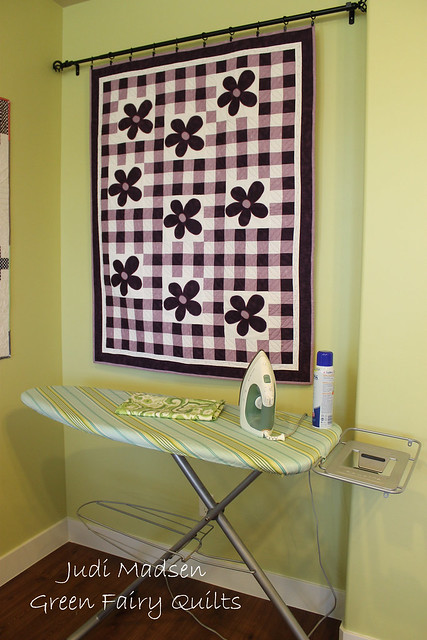
Last but certainly not least, my ironing board and Checkered Flowers quilt. Purple and green have always been one of my favorite color combinations and this quilt was made for this spot.  I feel like I now have a room that reflects all of me.  The ironing board is a new love too.  My mom was so sweet and made me two new covers to get rid of the bland muslin cover before.  

Well, I hope you like it.  I plan on creating a lot of things in this room and I can not wait to share them all with you.   


Saturday, June 14, 2014

My Dad

 Last week I had the chance to go up to Salt Lake to spend time with my parents and I had the best time. This picture of them was taken by me last week and this is how I want to remember them as they get older.  I want my kids to know them and be as proud of them as I am.  I love them so much and I can never thank them enough for the love they have given me.  My dad has always been a hardworking and caring provider for my mom and all 11 of us kids.  I am sure it wasn't always easy, but he would say it was all worth it.  

One of the things that got my dad through 40 years of being a carpenter was being able to play the piano.  I remember him playing every morning before he left for work and every night before bed.  Growing up I didn't always appreciate the piano playing when I was desperate for sleep, but as I have gotten older the sound of his music brings me right back home and it's those memories that I will always cherish.

My dad is a self taught piano player and composer.  His music is beautiful and peaceful and we have pushed him to get his music published.  I wish that he would have been able to do this sooner and pursue his music goals before now, but I am so proud that he has finally been able to share his music now by publishing with CDBaby.  I will always be able to listen to his music and that gives me comfort knowing that his music is now timeless.  
 

I know I am a little early, but I wanted to tell my dad Happy Father's Day! I am so blessed to be your daughter and I love you so much!  

Also, take a moment to listen to my daddy's music, you might just like it.  You can find it on iTunes as well.  


Tuesday, June 10, 2014

ah-ha moment.....

1 
So, I am kind of embarrassed to even mention this.  But, maybe some of you out there ran into the same trouble as me.  If you look at the picture above you can see a gap between the bottom of the thread cone and the thread holder plate.  The thread cone is sitting nicely on top of the thread holder - the only problem with this scenario is that the thread slips down and gets caught underneath as I quilt.  It is totally frustrating to be quilting and have to stop because the thread gets caught, creating terrible tension problems.  Not to mention a million times walking to the other side of the machine and around the table to fix it.  

I was so frustrated when this was happening to me.  I first tried turning off my ceiling fans to help so the thread isn't moving - that helped a little, but then with a stroke of luck I figured out the problem..... 
 
2 
PUSH THE CONE DOWN Dummy!!  Not you - me.  Seriously.  So simple, yet so hard at the same time. Now, in my defense, I can only do this because the hole in the Fil-Tec Glide thread is large enough to fit over the top and bottom of the thread holder.  I just didn't realize it because I have used So Fine for a lot of my projects and the hole is not big enough to fit over the whole thread holder, it just sits nicely on top. 

PS - I am using Glide in the top and So Fine for the bobbin on my current quilt.  I love both threads ;-) 

3 
Okay, so now that I completely embarrassed myself I have to tell you about a different scenario that was a huge blessing in disguise.  I was working on a quilt yesterday and I kept thinking that I need to oil and re-distribute the grease on my gears for my machine. When I went to grease the gears, out came the above screw attached to my grease ridden finger.  I panicked because I hadn't seen this before - I gave a quick call to my dealer Jen and she told me how to put it back in the right spot.  

So, long story short - it could have been a terrible problem if I continued to quilt without this screw in place. Especially with a customer quilt on.  Let's just say I am just so grateful to have caught this in time.  Seriously. So grateful.

4 
Now there are new things happening around here. We bought new shelves to hold our newly added fabric yardage.  Clint and I are slowly expanding to carry more yardage and notions on our website, so be sure to check that out here.  

5 
I am also forcing my home improvement projects on everyone I love.  Clint is thrilled to be helping with my gallery wall. He's a good poser too. ;-)

6 
My sister Amy is here helping me with my studio.  See the green?  I am beyond excited. I will be sure to share with you the finished project as soon as I am done.  I don't think I have even shown you my whole room and we have been here for over six months now.  Wow, time flies.