
It has been so fun watching the fabric choices coming along and many of you have started cutting and working on blocks. That is so great! I am going to go over how I pieced my Mama Gypsy. The color choices for my quilt made it so I had to start in the center and build from there.
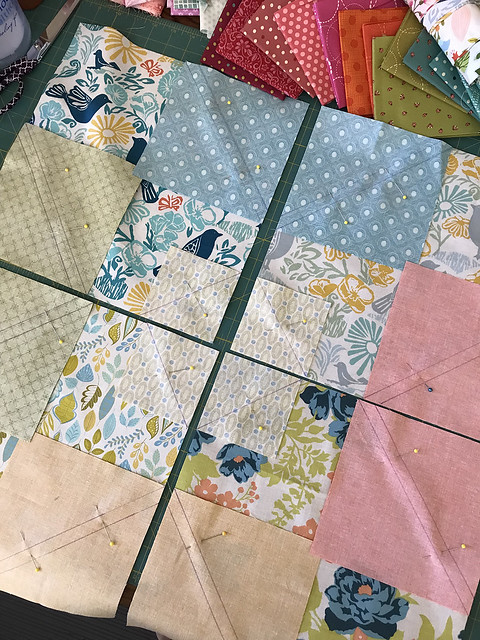
You can see in the picture above that I cut the 4 center large print blocks, then cut the accent squares. I drew on the necessary lines that make the triangle in the block, and the bonus HST for each section. All of those instructions are in the pattern. Make sure you are pinning because the quilt pieces are quite large - this will help with keeping the fabric from shifting.
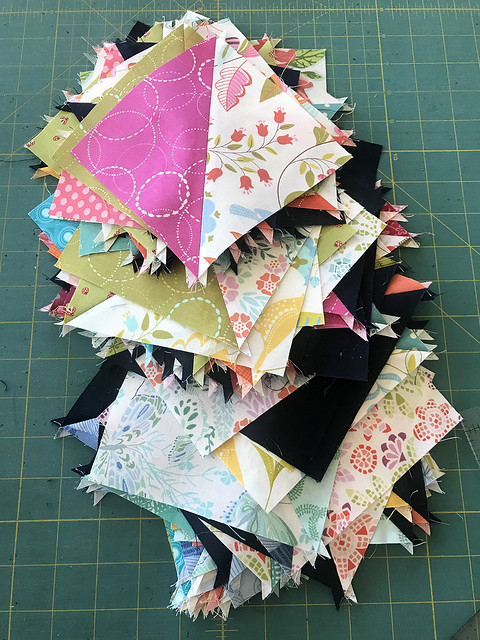
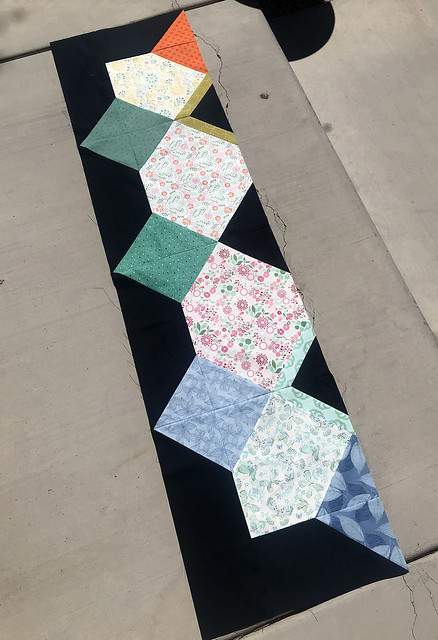
You can see above that the HST do add up as you put the quilt blocks together. It is so fun to see the colors coming together, especially with the scrappy feel of the fabrics I used.
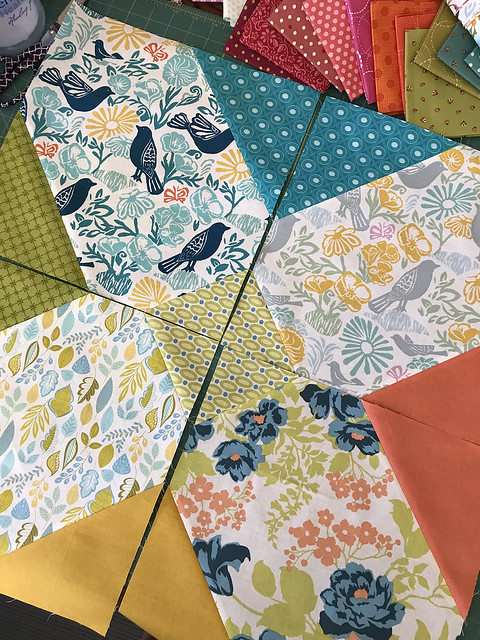
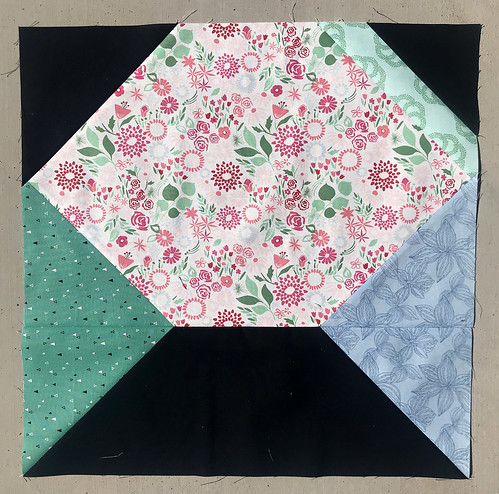
Once the blocks are trimmed and pressed, you can see how fun they come together. I didn't worry about adding the other elements to these center blocks (above) - you will see that they are incomplete by looking through the pattern. I put the center of the blocks together first so I could build on my accent colors. I do better myself laying my pieces out on the floor, or design wall if you have one, and playing with placement. I am a little more hands-on in that department. You also have the option to color out your fabrics on the black and white design page provided in my pattern.

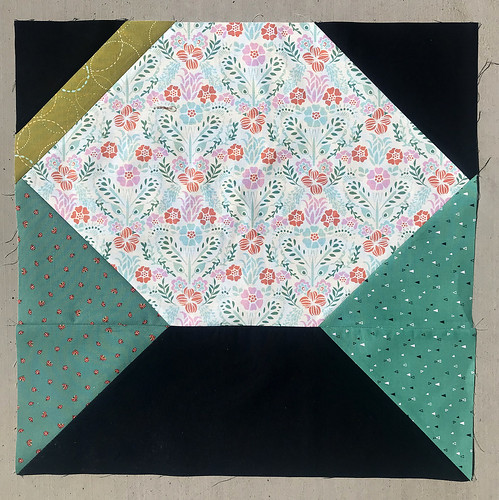
(Block 1)
Okay, so now that I know where my accent colors will be in the center of the quilt, I know how I want to play with the outside block accent colors. You will see on my entire quilt how I have the warmer colors in one corner of the quilt and the cooler colors on the opposite corner. It was all just a little bit of trial and error before I had the placement I wanted.
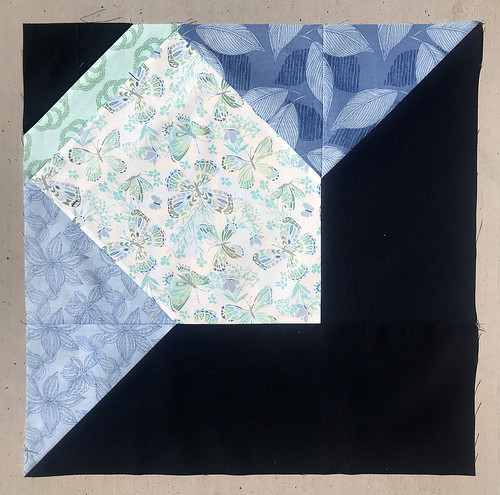
(Block 2)
You can see I am building the quilt from the bottom row to the top - it doesn't matter which order you do it in, that is just what I did for this quilt. I have to admit it was hard for me to place all these prints together, but the end result was worth it.
(Block 3)
If you look closely at the teal/green fabric above, it is directional. I take the time to make sure that the prints are going the same way - there will be 4 triangles coming together once the blocks are sewn into a row. I prefer to have the same prints coming together in the same direction. It takes a little bit more time, but is definitely worth the effort.
(Block 4)
It is fun how each block has its own personality, I love the way each of these prints come together against the dark background fabric. I have the directions for pressing the seams in my pattern, but I opted to press the seams open for this particular quilt. I knew I would be quilting it and would be able to navigate the seams and where to stitch. More on that later.
Okay, so once you have the first 4 blocks completed - sew them together. Isn't this darling? I love it!
Those of you following along on Instagram - share your blocks using #mamagypsyquiltqal and those of you on Facebook, you can share in my group. I will pick a winner for the $50 Green Fairy Quilts gift card Friday or Saturday night for one lucky participant who has shared their progress. So, be sure to share, even if you are just now picking your fabrics.
For those of you who haven't started yet, don't worry! You can still join. All the info for the quilt along will be here. I will post again next Friday!
Thanks everyone!
2 comments:
I really love this block and quilt pattern. Can't wait to see the finished top.
ooo - I am in love with what you're sharing!!
Post a Comment