
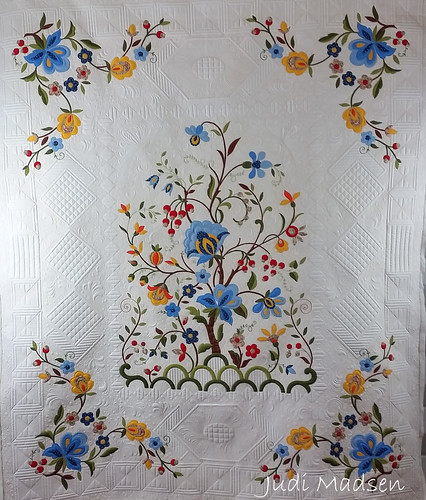
I have to tell you that I am pretty excited about this quilt. I also have to tell you that I didn't know anything about this quilt until after I had quilted it. This quilt is from an old kit, it has reference lines for the quilting and the scalloped edges that I disregarded and quilted the way that I wanted. Now, before you are all shocked that I didn't quilt the way the quilt was intended, Jeanna (owner and appliquer) and I decided to let me just quilt the way I would. The reference lines would just become part of the story of this quilt.
This is what Jeanna had to say about the quilt:
This is a quilt that I had wanted for a very long time. I'd seen pictures of it online as it's an old kit. I think it's from the 40's or 50s and the kit itself was found on an auction site. I finally made the quilt and have been waiting to get in line to get it quilted by you. I hand appliqued it and it was my first fully appliqued quilt and my very first embroidery. I had a lot of fun making it and I'm so glad that you got to be part of the story. You did an amazing job and I thank you for your artistry and taking the time to do something so beautiful on it.
Me again - thank you Jeanna! I feel so lucky to have been a part of this lovely quilt as well.
This particular quilting design was decided before I put the quilt on the frames. With the "Wide Open Spaces," I decided that I needed to have a plan first. So, I marked out the lines for the inner border surrounding the "Tree of Life" first, then I added the lines for the outside border. I quilted as I advanced the quilt, one row at a time.
It is fun to compare what the quilt was supposed to look like as far as the quilting and to see my take on it. The original quilt had straight lines, feathers and 1 inch squares. If you look on eBay (just search Tree of Life quilt) - you will be able to find a few examples of this quilt which will give you a chance to compare the quilting. It is really fun.
I used Glide thread for this particular quilt, with 2 layers of Hobbs 100% cotton batting. It gives it a nice texture and Glide is my favorite thread at the moment.
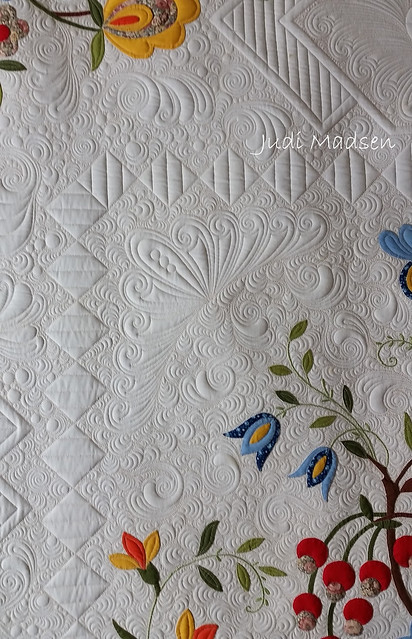
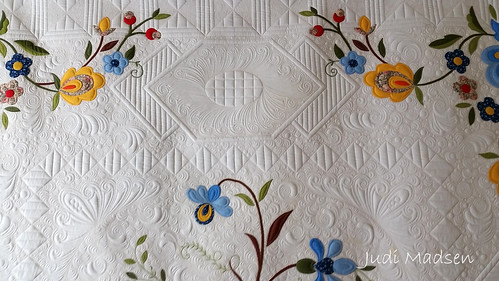
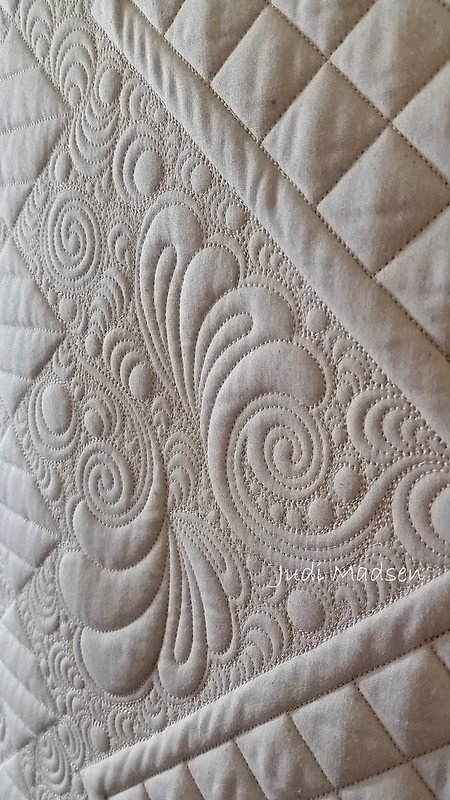
I had some empty space in the upper corners of the inside border and this feather motif fits perfectly there. This is free motion quilting on my A1 longarm, none of this is computerized quilting. I use my straight ruler to get the lines perfect as well as a purple disappearing marker for the temporary lines I mark as I quilt. The lines come out with water. I did use a blue water soluble marker for the permanent lines in the beginning, which also came out with water.
Isn't this motif fantastic? I love it and the texture of the background shell fill.
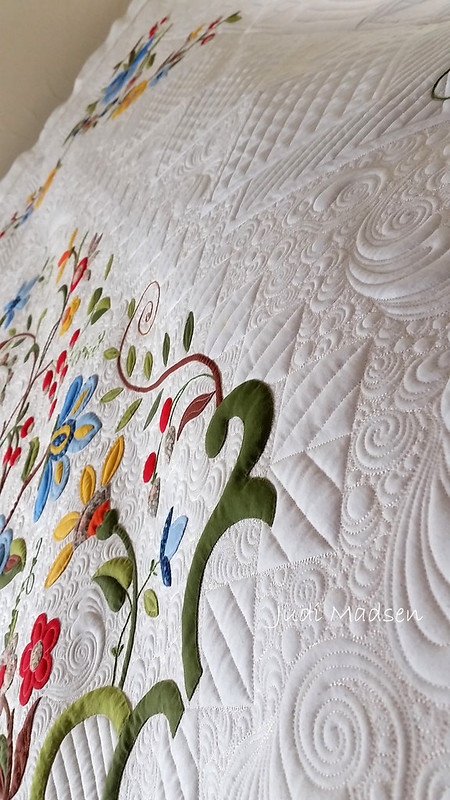
This is a fun perspective, one of me on the floor looking up!
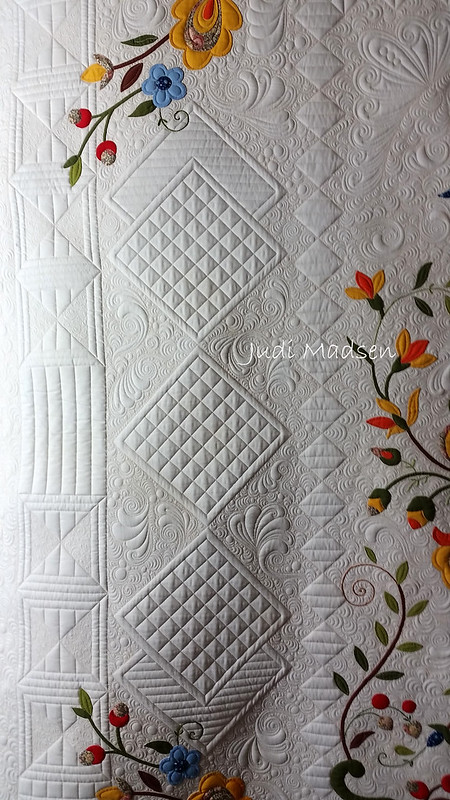
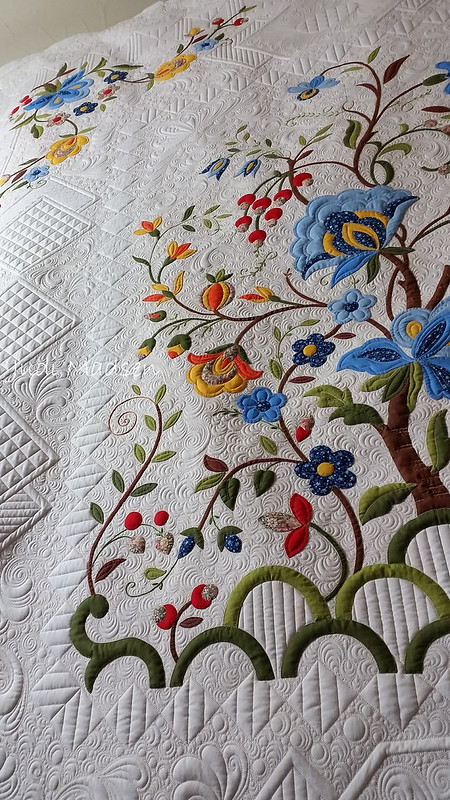
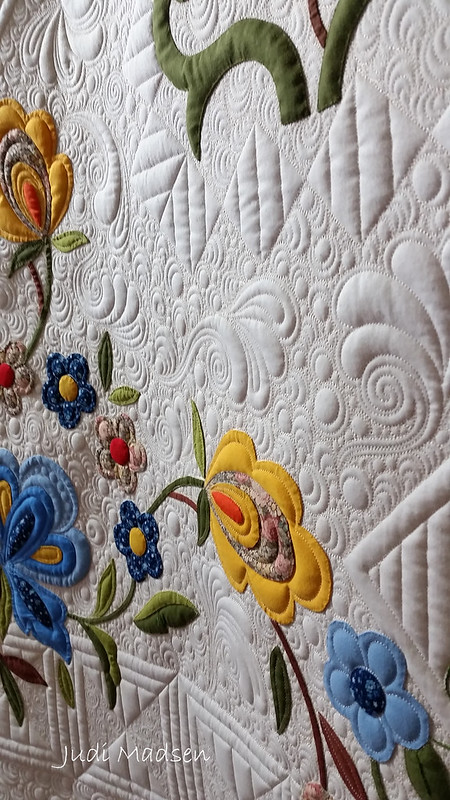
The dancing squares are perfect for the side empty space. I really enjoyed quilting these fun designs.
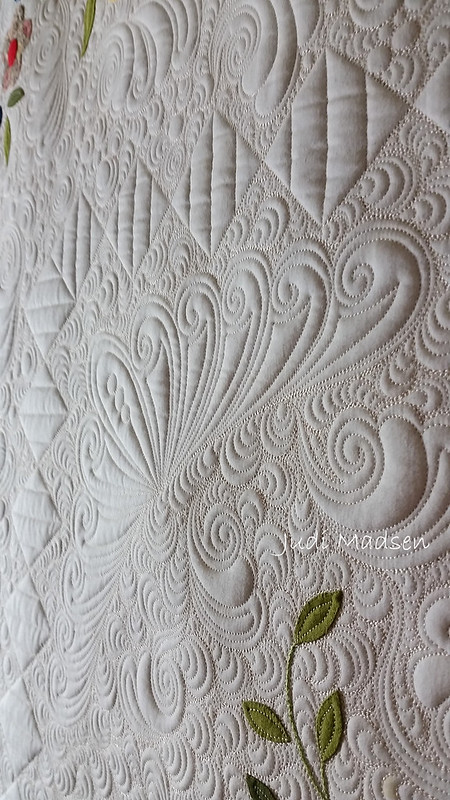
I can't get enough of the feather motif and swirl fill. It is so gorgeous.
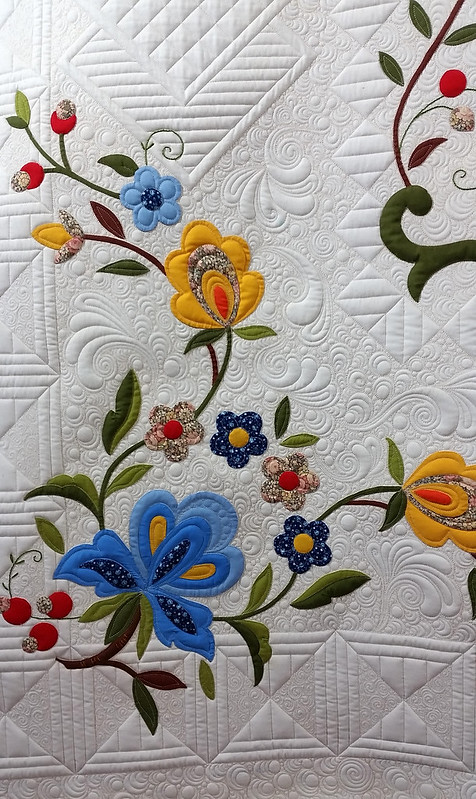
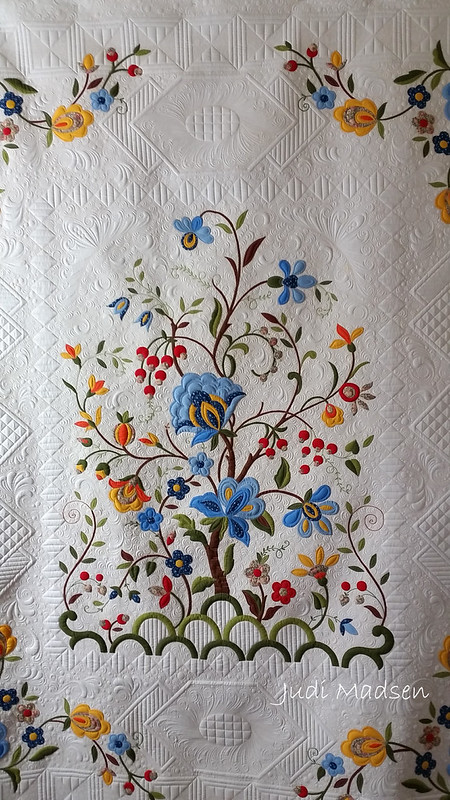
I think Jeanna did a wonderful job on her embroidery and applique. It is simply fantastic.
Love.
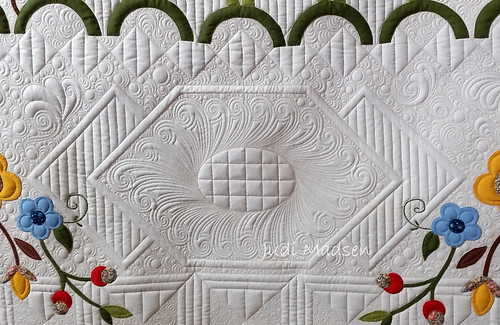
This design is on the top and bottom and I love it. It was simple enough, but I think it looks so elegant and fits with the rest of the quilting designs. I had a lot of fun quilting this up, I hope you have enjoyed the pictures.
A couple more things, I can't thank you all enough for taking my iquilt class, Quilting Make a Difference - it has been fun to know that those of you who can't make it to one of my classes can take one online. I hope you enjoyed it and if you haven't had a chance to take the class - you can here. You should!
I have updated my teaching events for this year and you can find all the info on where I am teaching here. I can't wait to see you all! Oh, and if you get a chance and want to vote for me as Teacher of the year - you can do that here! Thanks for the nomination - I am honored!
Thanks everyone!